Fiesta Friday

Friday dance time!!

Coming at ya again with another post since today is a little overbooked slow and I’ve decided to handle being in 3 places at once by ignoring my to do list and blogging instead. I make such great life choices. (looks very proud of self)


Anyways, since I am trying to post regularly and post on things like working out and cooking and such, here’s a recipe!

We had enchilada night last night and since I also happened to have the quintessential summer drink, Bud Light Lime, in hand, it turned into a full-on fiesta! This enchilada recipe is awesome and, wait for it, CHEAP! Perfect for grad students.

We had extra avocados so there was also guacamole and homemade chips involved because what else are you going to do with extra avocados and tortillas?

wpid-20150423_201953.jpg

Enchiladas With Mole Sauce (adapted from this recipe)

Ingredients
SAUCE
  • 2 Tbsp vegetable oil or any oil with a light flavor
  • 2 Tbsp all-purpose flour
  • 2 Tbsp chili powder
  • 2 cups water
  • 3 oz. tomato paste
  • ½ tsp cumin
  • ½ tsp garlic powder
  • ¼ tsp cayenne pepper
  • 2 tsp unsweetened cocoa powder
  • 1 tsp salt
ENCHILADAS
  • 1/2 cup shredded cooked, chicken
  • 1 (15 oz.) can seasoned black beans
  • 1 medium avocado
  • 1 small tomato
  • 1-2 whole green onions
  • ½ cup frozen corn kernels
  • handful fresh cilantro chopped
  • ¼ tsp garlic powder
  • ½ tsp salt
  • 1 tsp lime juice
  • 1/4 cup fresh grated cheese (oxaca, montery, or another soft melty cheese)
  • 8 small tortillas (fajita size)
Instructions
  1. Preheat oven to 350 degrees F. Then prepare the enchilada sauce. In a medium sauce pot combine the vegetable oil, flour, and chili powder. Heat the mixture over a medium flame until it begins to bubble. Whisk and cook the bubbling paste for 1-2 minutes. Slowly pour in the water while whisking. Add the tomato paste, cumin, garlic powder, cayenne pepper, cocoa powder, and salt. Whisk until smooth and continue to heat over a medium flame. Let the sauce come up to a gentle simmer, at which point the sauce will thicken. Once thickened, turn off the heat and set the sauce aside until you’re ready to use it.
  2. Drain and rinse the can of beans, then add them to a large bowl with the shredded chicken. Cube the avocado, dice the tomato, slice the green onion, and pull a handful of cilantro leaves from their stems and roughly chop them. Add them all to the bowl, along with the frozen corn kernels and lime juice. Stir everything together. Season with a little salt and garlic powder (recommended amounts above, or use fresh minced garlic). Gently mix in the cheese so you don’t bruise the avocado.
  3. Coat an 8×8 casserole dish with non-stick spray. Warm the tortillas briefly in the microwave to make them soft and pliable. Fill each tortilla with about ⅓ cup of filling and roll tightly. Place the filled tortillas in the casserole dish, seam side down. Once all of the filled enchiladas are in the dish, pour the enchilada sauce over top.
  4. Bake the enchiladas in the preheated oven for about 25 minutes, or until they’re heated through and the sauce is bubbly along the edges.

If you want to add even more cheese on top of the enchiladas, I think that would be a fantastic idea. More cheese = awesome!
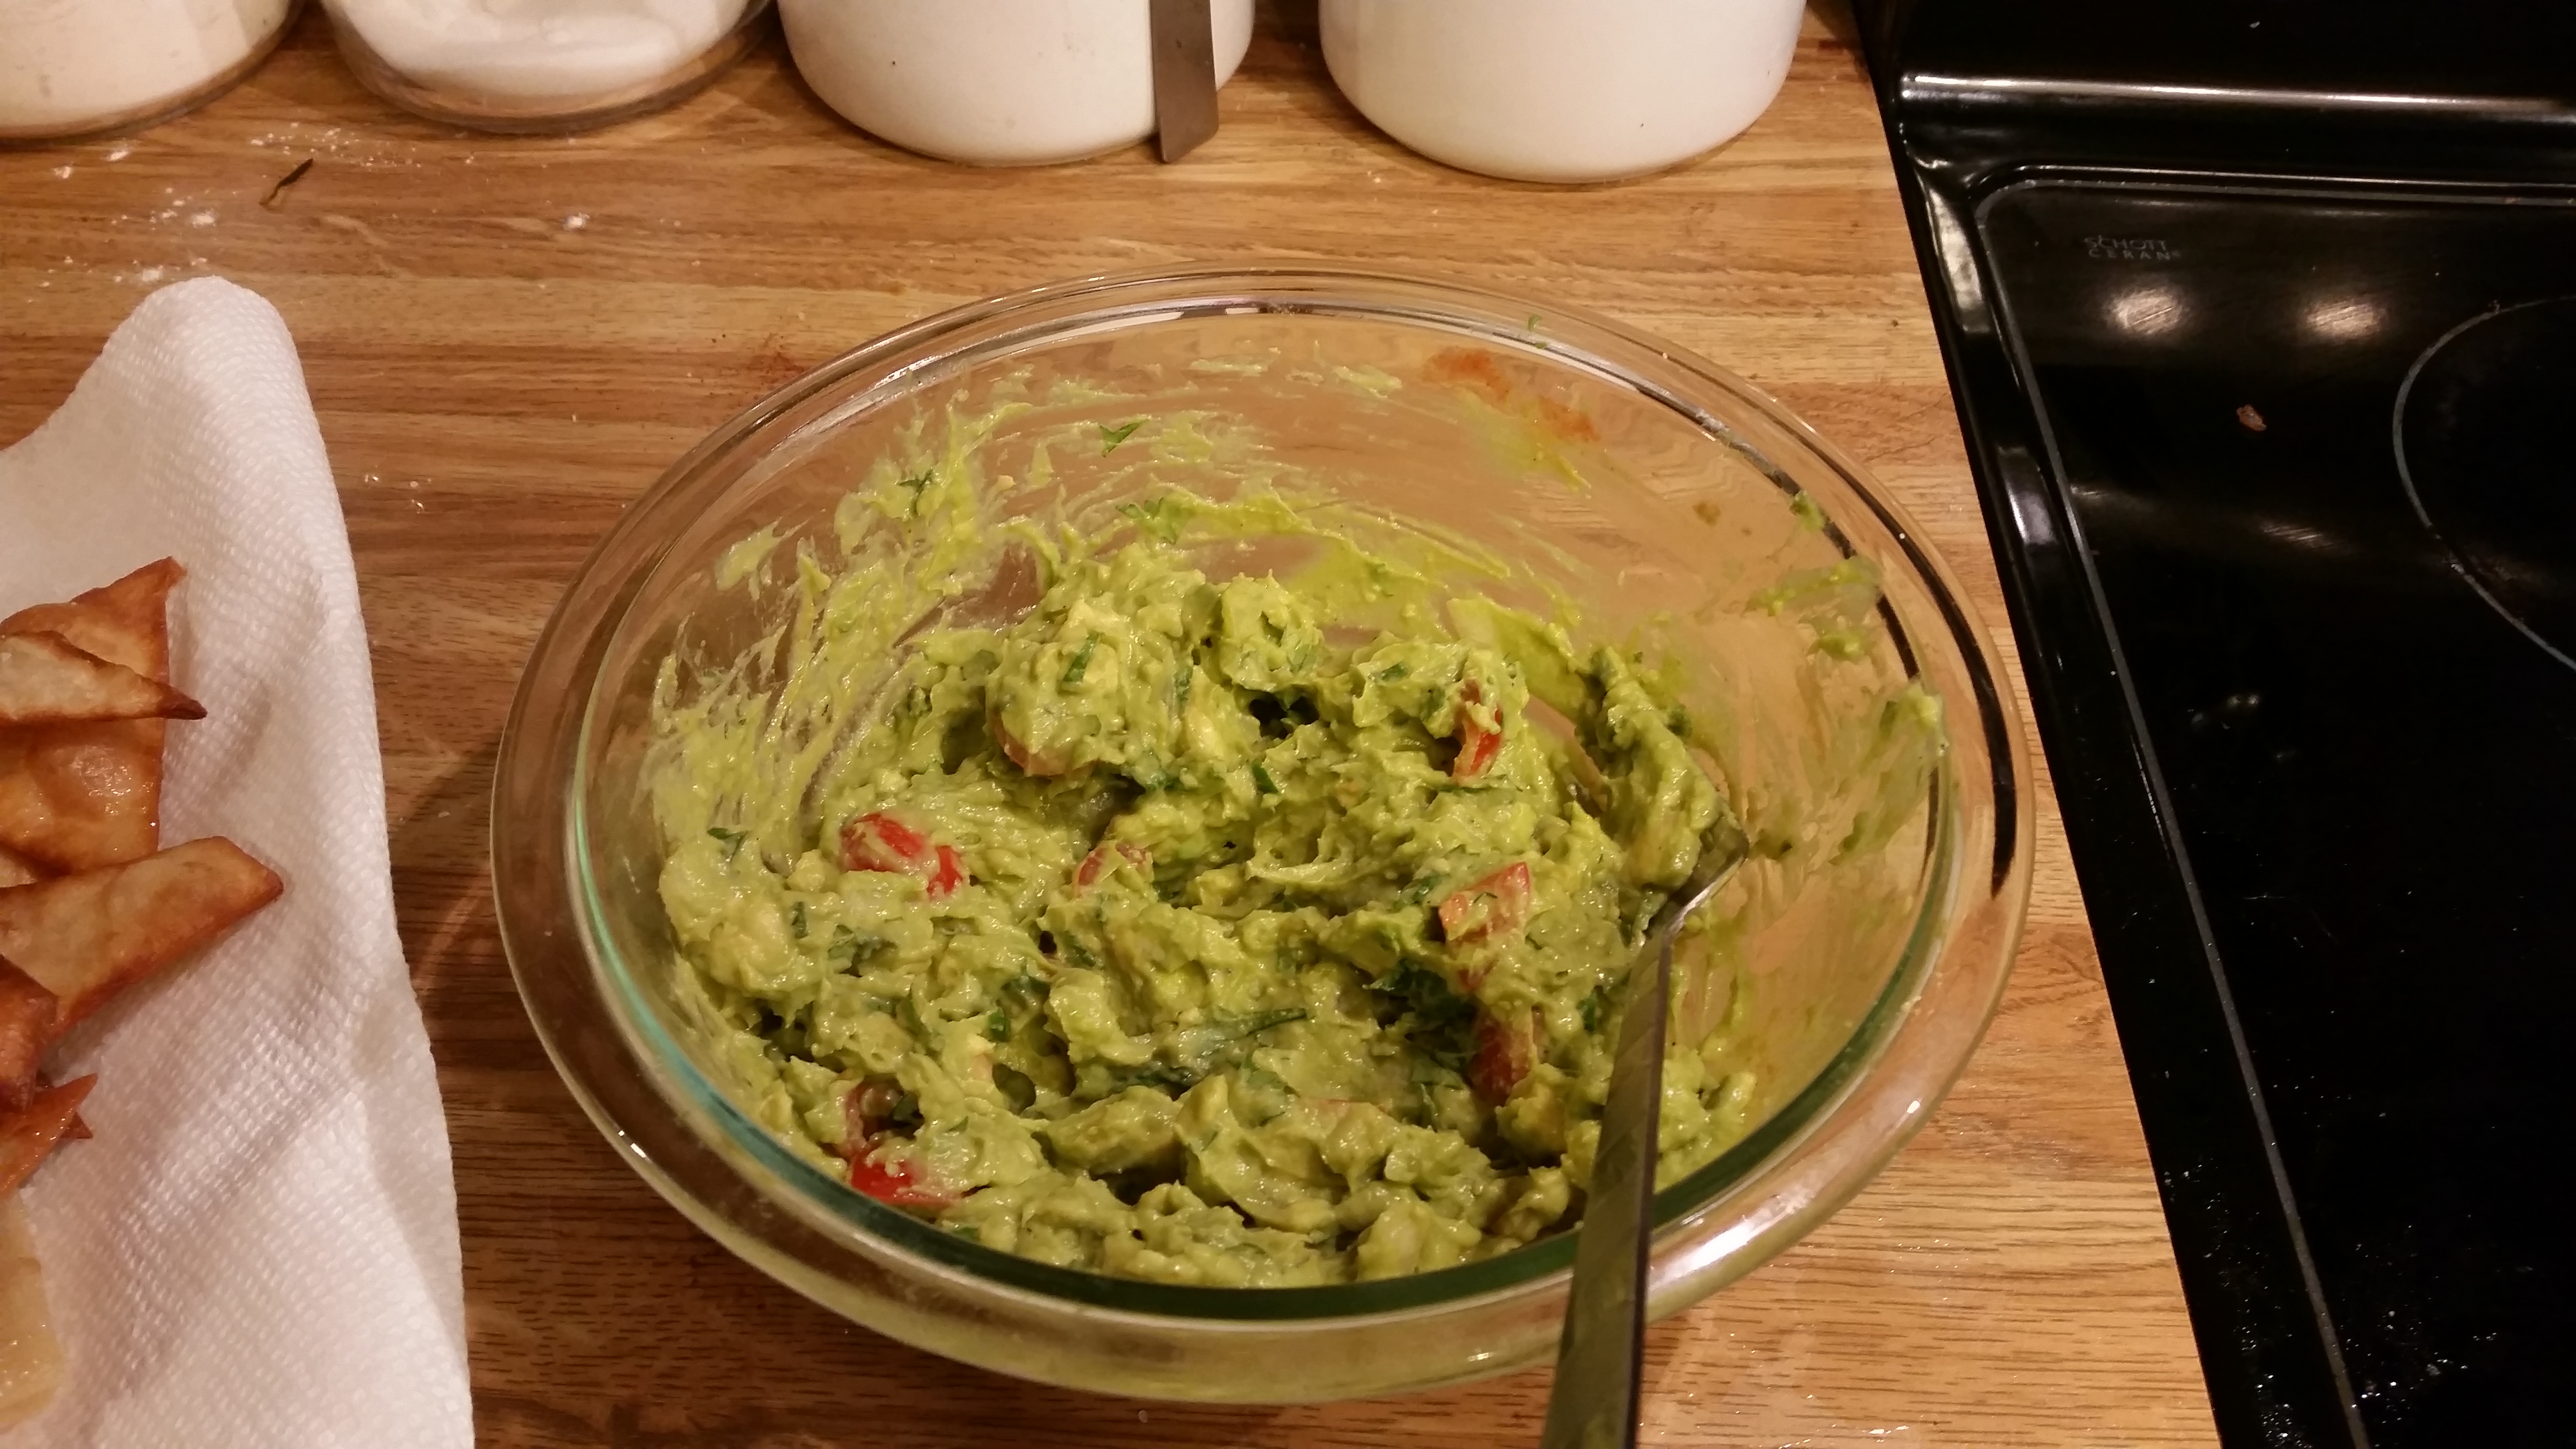
wpid-20150423_202016.jpg

Guacamole

Ingredients

  • 3 small avocados (honestly use what ya got)
  • 2 T lime juice
  • 1/4 white or sweet onion small diced
  • handful of fresh cilantro chopped
  • 1/4 cup (approx) diced fresh tomato <–I used like 5 cherry tomatoes and chopped them up
  • 1/4 tsp cumin
  • 1/4 tsp garlic powder
  • salt, pepper, and Sriracha to taste

Cube and mash the avocados with the lime juice. Mix in remaining ingredients. Add salt, pepper and Sriracha to taste <– I use one healthy squirt for a nice kick

wpid-20150423_202009.jpg

We had some leftover tortillas from the enchilada recipe and a lack of tortilla chips in the house (I know). So, I cut up the remaining 3 tortillas into chip size and fried them in 1/2 in of sunflower oil (Don’t overheat your oil, 350-375 degrees is where you wanna be at) for 1-2 min per side.

And OMG I forgot how good fresh flour tortilla chips are! Especially with homemade guacamole. And Bud Light Lime. And hot enchiladas. And a nice spring evening.

Chilly Days, Chili Nights

Hi friends! Hope you are not as frozen as we are!

elsa


While the temps we’re getting in Raleigh may not be considered cold by northern standards, it’s definitely record-breaking cold here! This morning it was 13 when I woke up…..13. And that’s not including the wind chill which lowered it to 3!

Seriously running out of sweaters. -Note to self: Do yo’ laundry-

Cold, snowy weather outside and sick people inside call for one thing…CHILI.

Here’s how I make mine, it’s a little sweet with some nice heat at the end 🙂 Oh, and it only takes one pot. #disheswin

Cold Weather Chili

Ingredients

  • 4 strips bacon – chopped into pieces
  • 1 lb ground beef (we used ground bison for this recipe)
  • 1 bell pepper – diced
  • 1 jalapeno pepper -diced (totally optional, leave the seeds in for extra spice or take them out or don’t use the jalapeno)
  • 1 red onion – diced
  • 15 oz can kidney beans -or whatever bean floats your boat
  • 15 oz diced tomatoes
  • 3 oz tomato paste
  • 3 oz. whiskey or scotch or bourbon – whateva you got
  • 2 big squirts of BBQ sauce
  • 1 tbs chili powder
  • 1 tsp garlic powder
  • 1 tsp paprika
  • 0.5 tsp cumin

Note: The spice measurements are estimates since I am a horrible food blogger and throw things in as I cook without stopping to measure them

Directions

  1. Heat a med./large heavy bottomed pot until hot. Throw in the bacon pieces and let them cook. It’s gonna seem like a lot of bacon, but there is no such thing as too much bacon.
  2. When the bacon is 80% done to your liking, add in the ground bison/beef/turkey/chicken/whatever and brown the meat so it is fully cooked. – 5 min or so depending on the meat. This is also a great time to add those spices we talked about earlier.
  3. Add in the diced veggies (pepper, jalapeno, and onion) to the pot and let cook for 3 min.
  4. Drain and rinse the kidney beans and throw those in the pot too along with the whole (juice and all) can of diced tomatoes. Stir to combine everything and then add the tomato paste, whisky, and BBQ sauce. I added 2 squirts of Sweet Baby Ray’s BBQ sauce cause that’s what we had, but your favorite sauce (as long as it’s not vinegar or mustard based) will taste great!
  5. Mix everything together and don’t burn your tongue on the spoon as you lick it. Cover the pot and turn the heat down to low and go watch Game of Thrones or something so that chili can simmer and those flavors can get to know each other.
  6. Serve with your favorite chili toppings!

Serves: 4-5 hungry adults

I topped mine with sour cream, cheddar cheese, and some green onion. Other popular toppings include everything but the kitchen sink.

I only have a picture of the chili after I smothered it in toppings because yeah. Oops.

wpid-20150218_191636.jpg


Let me know if you give this a try!


New Lab Adventures

Good morning! Hope you all are off to a good Wednesday!

Yesterday was pretty exciting in grad school world. I started using a new lab! My research group has access to two labs, one with standard electrical equipment and some cool screen printing equipment (this is the lab I usually work in), and another with two ALD (atomic layer deposition) tools and a couple of nanofabrication tools (this is more chemical and therefore more cool). (Note: we’ll do a post on what exactly is nano soon)

Starting a new research project can be a little scary at first. You kinda bumble about the lab not knowing where anything is or really what you’re doing yet. Basically you spend a couple days feeling like a total idiot who has never researched before.

The best way to get rid of that feeling? Just dive in!

Aaaaaand that’s what I was doing yesterday. Fabricating some new flexible materials with graphene (follow the link for a brief intro to this awesome nanomaterial).

wpid-20150127_150823.jpg

The samples turned out okay for my first attempt. They’ll get better as I get more comfortable with the fabrication process and more familiar with the new lab.

We hit up the gym after work for a little bit. O.M.G. It was so packed! But we did a short total body workout before swinging by Trader Joe’s and heading home for dinner.

I acquired the memory of a goldfish again and forgot to take pictures of dinner (aka I ate it all and then remembered about pictures) but it was fantastic so you’re getting the recipe anyways. The recipe sounds super fancy, but is crazy simple to make. Seriously, dinner was on the table 30 min after we got home.

Butternut Squash Ravioli in Brown Butter with Crispy Sage

Ingredients:

  • Package of butternut squash ravioli (we got ours from Trader Joe’s)
  • 3 Tbs salted butter
  • 2 sprigs fresh sage
  1. Get some water in a pot boiling for the ravioli and cook the ravioli according to the package directions.
  2. In a separate small pan, melt the butter on med. heat. While the butter is melting, pick the sage leaves off the stems and give them a rough chop.
  3. After the butter has completely melted, start lightly swirling the pan. You don’t want to let the butter sit and risk it burning. After a couple min toss in the chopped sage. Continue swirling the butter and sage while the butter browns.
  4. When the butter turns a golden brown and has a strong nutty scent, turn off the heat.
  5. Plate the cooked ravioli and top with the brown butter and sage. The sage will have gotten nice and crispy while cooking in the butter.

Serves 2 hungry people.

We had this with some salad and bread to make a complete meal of it.

Let me know if you give the recipe a try!